

Home & Decor Blogs: DIY, Interior Design & Lifestyle Ideas
Smarty Lights: Smart Home Decor Style for Art Interiors
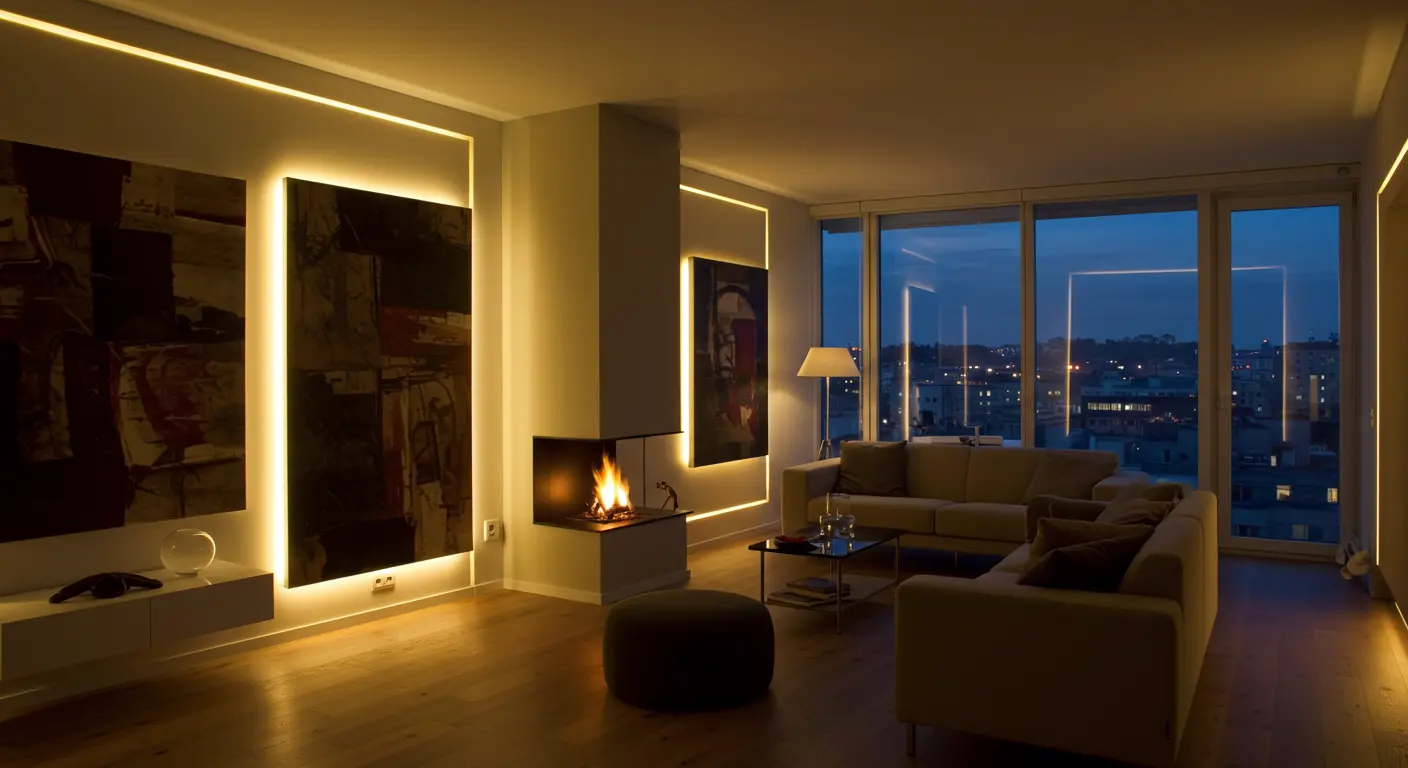
swap decor, Smarty Lights are more forgiving. Instead of re hanging lamps or repositioning tracks, you reconfigure light behaviour and zones. The “art” becomes partly digital, partly physical.
Planning your Smarty Lights installation
You don’t want to jump into ordering strips and controllers without a map. Here’s how to plan smartly (pun intended).
Inventory your interior “canvases”
Walk through your home and list surfaces, features, or sightlines you want to enhance. Examples:
- Feature walls behind major paintings
- Ceilings with vaulted forms
- Floating shelves or niches
- Architectural recesses (e.g. vaulted arches)
- Cornices, coves, stepped ceilings
- Sculptural objects, plants or columns
For each surface, note its shape, orientation, nearby furniture, and the distance from wiring sources.
Define lighting “behaviors” per zone
Think less “light color” and more “how the light moves or behaves.” For each zone, choose behaviors like:
- Gradient sweep (left → right, top → bottom)
- Fade in / fade out with time
- Pulse or breathing (gentle dimming cycles)
- Shadow mapping (projecting patterns, soft silhouettes)
- Reaction to motion, audio, or time of day
Don’t overdo: too many competing behaviors create visual noise.
Select hardware tuned to your design goals
Here’s where you must think technically:
- Color fidelity and gamut: If you’re pairing light with wall art, choose LED systems that cover wide color space (not just “RGB but cool + warm white”)
- Segmentation & channel count: For complex behavior, you want many independent segments (e.g. 30+ zones)
- Refresh rate / PWM smoothness: For smooth gradients and transitions, avoid flicker, especially in peripheral vision
- Controller reliability & backup: Use controllers that cache scenes (works even in WiFi off), and plan for firmware updates / fallback
- Wiring & voltage drop: For long strips, mind voltage drop. Use power injection or local drivers
- Diffusion / lensing: Many direct LED strips look “pixelated.” Use diffuser profiles (frosted covers, sandblasted acrylic) to smooth them
- Mounting and concealment options: Decide whether LEDs will be hidden (in coves, plastered over) or visible as decorative elements
Prototype before committing
Always run a small prototype: two to three segments on key zones. Try behaviors at different brightness, watch for hot spots, test transitions. Light looks different in day vs night. Adjust before you wire everything.
Document your layout
Create a plan (floor plan + elevation) showing strip placements, controllers, zones, cables, transitions. Leave headroom for changes—future proof.
Creative Setups And Ideas You Can Try Now
Here are some illustrative ideas that go beyond what typical smart lighting blogs show:
Wall painting gradient frame
Use a hidden strip behind a slim frosted border, so the wall edge “bleeds” color outward. At night, gradients flow outward from the artwork like a glow, borrowing its palette. During daytime, the strip lies dormant but invisible.
Ceiling “cloud drift”
Mount a segmented panel of LEDs above with a diffuser, programmed to simulate slow moving cloud shadows drifting across the ceiling. It softens the ceiling plane, adds gentle motion, and echoes nature without literal slideshows.
Niche “halo” bounce
For recessed niches (say, around a sculpture or plant), place LED strips facing inward but reflect off a painted inside surface (semi-matte). The light “bounces” and diffuses, creating a halo glow rather than direct beams.
Shadow-mask overlay
Use a low-intensity patterned gobo or laser cut mask in front of a strip to project repeating silhouettes (e.g. leaves, geometric grids) onto walls. With shifting gradients behind, patterns drift; it’s a light-and-shadow dance.
Interactive passageway
In a hallway, equip motion sensors so that as you walk, the wall ahead fades bright while walls behind dim. Combine that with a trailing color gradient. The architecture “responds” to your presence.
Day-night mimicry
Divide strips into zones synced to the sun’s color temperature cycle. In morning, cool bluish; midday neutral; evening warmer amber. Use soft transitions to mimic natural daylight trajectories across walls or ceilings.
Artwork augmentation
Embed micro strip lighting behind transparent acrylic in the artwork itself so the piece glows from within. Or pair a painting with a gradient border light that echoes its dominant tones, fading in when the room dims.
These setups combine spatial thinking, behavior, and design. They push you beyond static scenes.
Common Mistakes and How to Avoid Them
Even if you’re passionate, these pitfalls can mar your design if you don’t watch out:
Overcomplicating behaviors
Don’t make every zone do something wild. With too many effects, rooms look chaotic. Keep your transitions slow (5–20 seconds), minimal contrast, and only one “motion” behavior per zone.
Poor calibration across zones
If two adjacent zones aren’t matched in brightness or color, the seam is jarring. Always calibrate and gamma correct across strips.
Insufficient diffusion
Bare LED strips look spotty. Use diffusers or indirect bounce to avoid “donut” light marks.
Ignoring fallback and safety
If your controller or WiFi fails, lighting should default to a safe backup (e.g. uniform white). Also ensure proper thermal dissipation—LEDs in enclosed spaces build heat.
Wiring too long
Long wire runs without power reinjection cause voltage drop and color shift. Keep runs modest or re-inject supply.
Underestimating maintenance
Firmware updates, dusty diffusers, aging LEDs they all matter. Plan access and replacement paths.
Conclusion
When done well, Smarty Lights transform your home into a space that breathes. Light becomes texture, movement, mood, and narrative. In an art interior, where every surface is a canvas or a statement, it’s a natural extension: the decor & improvement does just sit there; it responds. If you take away one thing: think of light not as just a functional layer, but as a design material. Sketch on your walls, test small zones, and let the lighting behaviour tell your story.