

Home & Decor Blogs: DIY, Interior Design & Lifestyle Ideas
The Ultimate Homeowner Guide to Backyard Planning, Outbuilding Options, and Smart Property Upgrades

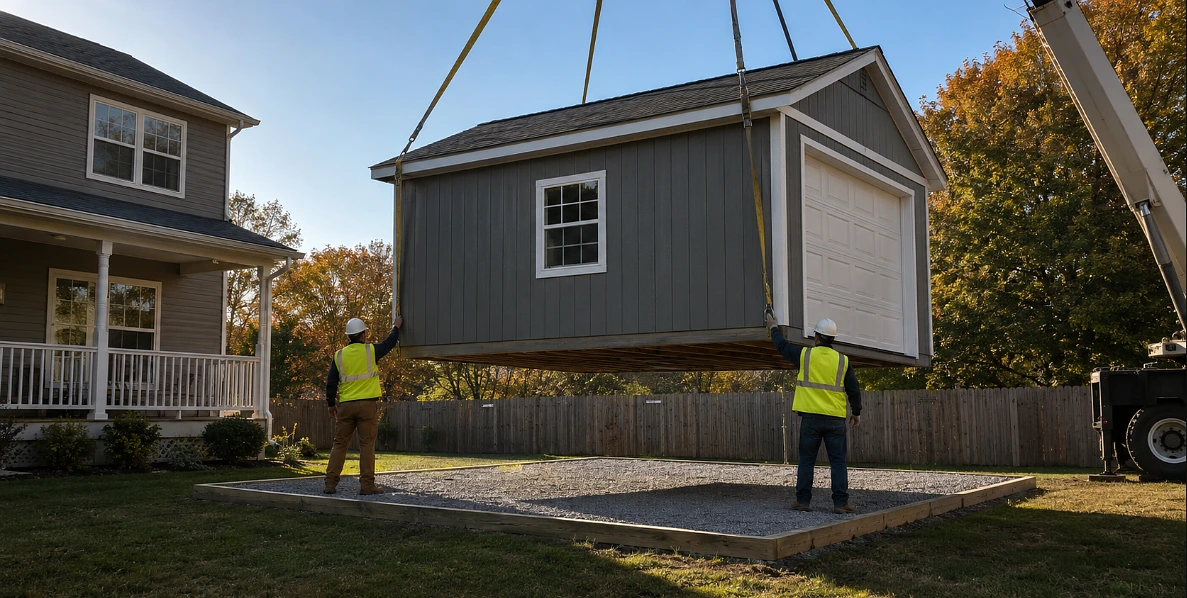
Backyard planning comes down to three decisions made in the right order: what the local rules let you build, which type of outbuilding matches how you actually live, and what the ground needs before anything is delivered. Handle those three first and a shed, garage or studio adds usable square footage, storage and resale value. Skip them and you get a beautiful building sitting in standing water, two feet too close to the property line, with a permit problem waiting for you at closing. This guide walks through the whole process the way an experienced contractor would explain it over a cup of coffee in your driveway.
Where backyard planning really starts
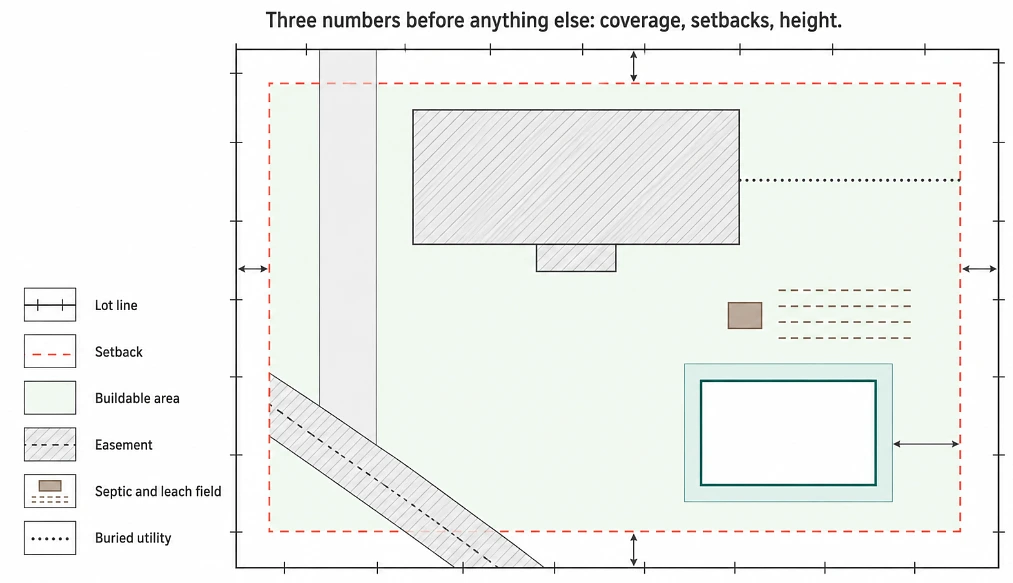
It starts with paperwork, not with a shopping cart. Before you pick a color or a roof style, you need three numbers: your lot coverage limit, your required setbacks from side and rear property lines, and the maximum height allowed for an accessory structure. Every town publishes these, and they decide the size of the building you can legally place.
Most homeowners find out about setbacks after they have already fallen in love with a 24×24 layout. That is the expensive way to learn. Pull up your zoning code or call the building department and ask about accessory structures, then measure your yard with a tape and mark the corners with stakes. A quick survey of your own is worth an hour. Homeowners comparing quotes for prefabricated garages in Kingston, NY often discover their usable footprint is a full size smaller than they assumed, and it is far better to learn that before a deposit than after.
Things worth confirming before you sketch anything:
- Side and rear setback distances for accessory buildings;
- Total lot coverage already used by the house, driveway and patio;
- Height limits, which often cap second story storage or a loft;
- HOA rules on siding, roofing and paint colors;
- Location of septic tanks, leach fields, wells and buried utility lines;
- Easements running through the yard, which you cannot build over.
How much of the yard should a structure take up?
A practical rule is to keep detached structures under roughly one quarter of your open yard space, and to leave at least eight to ten feet of clear walking room around the sides you plan to maintain. That gap is not decoration. It is how you paint the siding, clean the gutters, run a mower and keep leaf litter off the walls.
Think about the yard in zones instead of as one open rectangle. Most properties split naturally into a living zone near the back door, a utility zone along the least attractive side, and a buffer zone at the rear. Outbuildings belong in the utility or buffer zone. Pushing a garage into the living zone kills the part of the yard your family actually uses.
Outbuilding options and what each one is good for
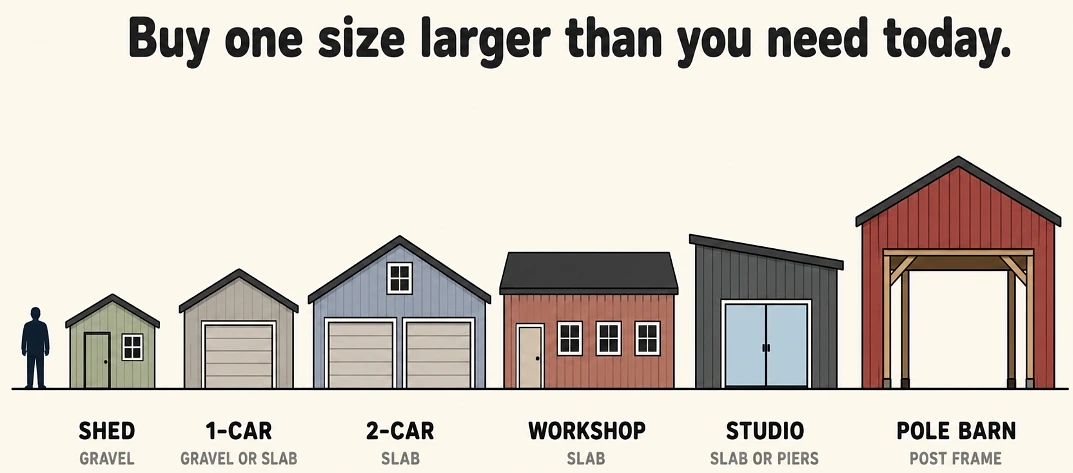
The right outbuilding is the one that matches your primary use, not the biggest one you can afford. Storage sheds handle tools and seasonal gear, detached garages handle vehicles and heavy equipment, workshops handle projects with power tools, and studio buildings handle work or hobbies that need insulation and quiet.
| Structure type | Typical size | Best use | Foundation |
| Storage shed | 8×10 to 12×20 | Lawn equipment, bikes, seasonal storage | Gravel pad |
| Single car garage | 12×24 to 14×28 | One vehicle plus wall storage | Gravel or slab |
| Two car garage | 20×20 to 24×30 | Two vehicles, workbench, overhead loft | Concrete slab |
| Workshop building | 14×24 to 20×30 | Woodworking, repairs, hobby equipment | Concrete slab |
| Backyard studio | 10×14 to 16×20 | Office, art space, home gym | Slab or piers |
| Pole barn | 24×36 and up | Tractors, trailers, livestock, bulk storage | Post frame |
One point that surprises people: buy one size larger than your current need. Nobody in the history of backyard construction has ever complained that their garage was too big. Every contractor hears the opposite complaint constantly, usually about two years in.
Is a prefab building better than one built on site?
For most residential projects, yes. A prefabricated or modular building arrives finished, gets set in a day or two, and comes with a fixed price agreed before work begins. Site built construction gives you unlimited design freedom, but it takes weeks, exposes the framing to weather and leaves the final cost open to change orders.
Prefab construction has another quiet advantage. The panels and trusses are cut indoors on jigs, so the tolerances stay tight and the lumber never sits in the rain. A traditional Amish construction company such as Storage Sheds And Garages builds this way, using timber framing methods and hand finishing that you rarely see on a fast production crew. When you are comparing quotes, ask what is included in the delivered price: door hardware, windows, ridge vents, floor system and anchoring all vary between suppliers, and a cheaper base number often means a shorter list.
Foundations, drainage and site prep
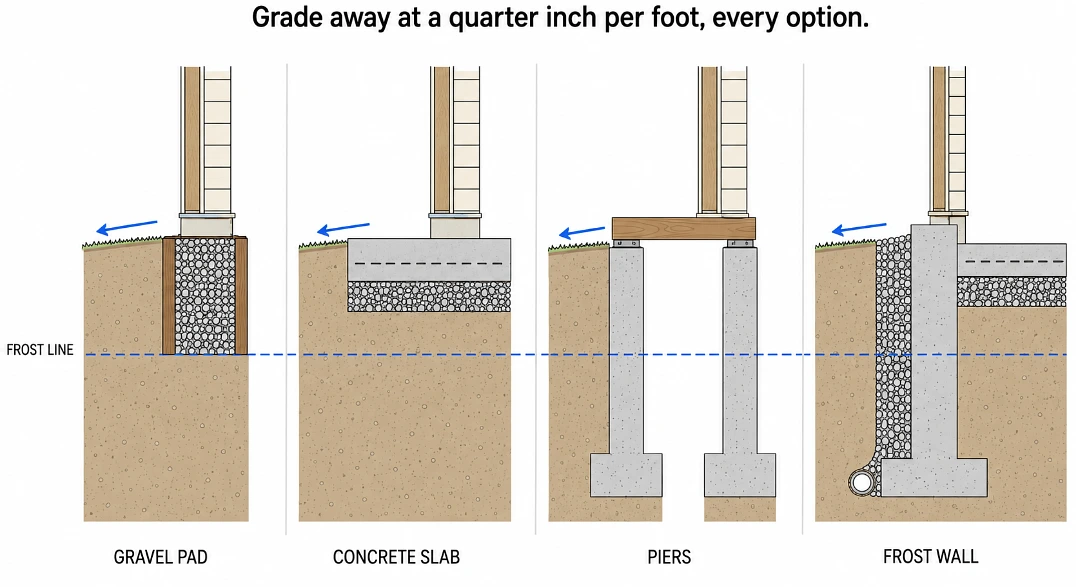
Site prep decides how long the building lasts. A level, compacted, well drained pad extended six inches past the walls on every side will outperform a beautiful structure sitting on soft, sloped ground. Water is what destroys outbuildings, not age.
Walk your yard during a heavy rain and watch where the water runs. That single observation tells you more than any drawing. Then choose the pad:
- Gravel pad. Four to six inches of crushed stone in a timber frame, ideal for sheds and light garages;
- Concrete slab. Four inches with wire mesh or fiber, required for vehicles, lifts and heavy tools;
- Post frame or piers. Footings set below the frost line, used on sloped lots and for pole barns;
- Full frost wall. The most expensive option, worth it only when you plan a heated, finished interior.
Grade the soil away from the pad at about a quarter inch per foot, and keep gutter runoff moving with a downspout extension or a simple French drain. That small detail prevents most rot problems.
Smart property upgrades that pay for themselves
The upgrades with the best return are the ones that add function you use weekly, not features that only look good in listing photos. Storage capacity, covered parking, exterior lighting and a dry, finished work space consistently rank near the top for appraisers and buyers alike.
Worth the money in most yards:
- A detached garage or workshop, which buyers read as square footage rather than as a shed;
- Electrical service to the outbuilding, ideally a subpanel rather than a single extension circuit;
- Insulation and a mini split if the space will be used year round;
- A wider gravel or paved approach, so the building is actually reachable in winter;
- Motion lighting and simple landscaping to tie the structure into the yard.
Two upgrades to think twice about: plumbing runs to a detached building, which trigger permits and frost depth issues, and highly personalized interiors that the next owner will only have to rip out.
What mistakes cost homeowners the most?
The three most expensive mistakes are building too small, skipping site prep, and ignoring permits. All three are avoidable in a single afternoon of planning. Undersized buildings force a second project, poor pads cause rot and door misalignment within a few seasons, and unpermitted structures surface during a sale, when you have the least leverage to fix them.
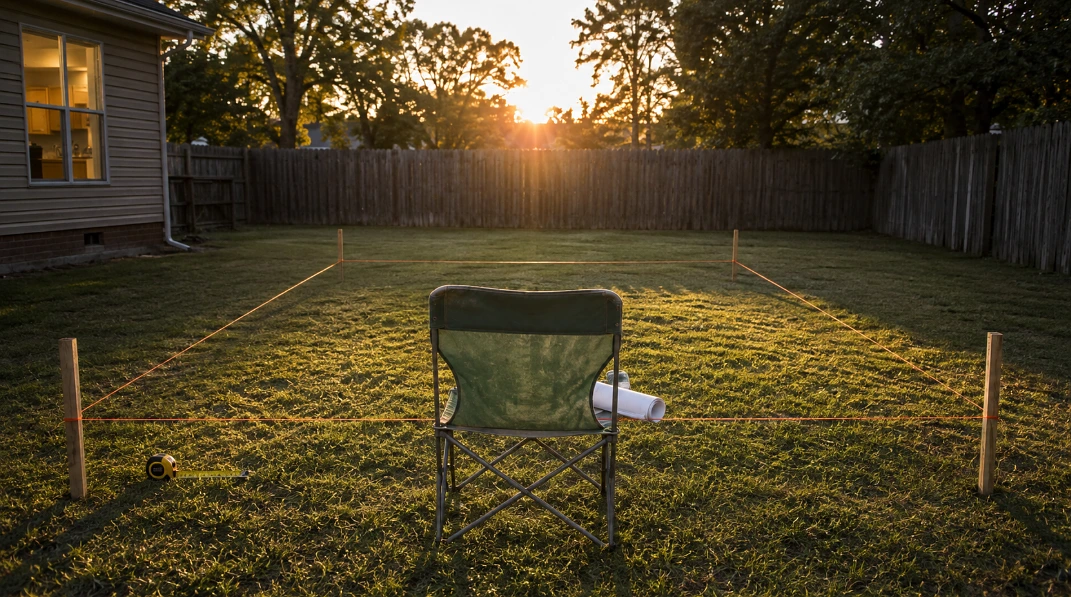
A fourth mistake is subtler. People place a building where it is convenient for the delivery truck instead of where it makes sense for the next twenty years. Sit with the plan for a week before you commit to a location. Take a lawn chair out to the spot, look at the sightlines from the kitchen window, and imagine the driveway in February. That hour of daydreaming is the cheapest design work you will ever do.

 Decor & Improvement Accessories