

Home & Decor Blogs: DIY, Interior Design & Lifestyle Ideas
Why Your Kitchen Looks Worse on Camera Than It Does in Real Life
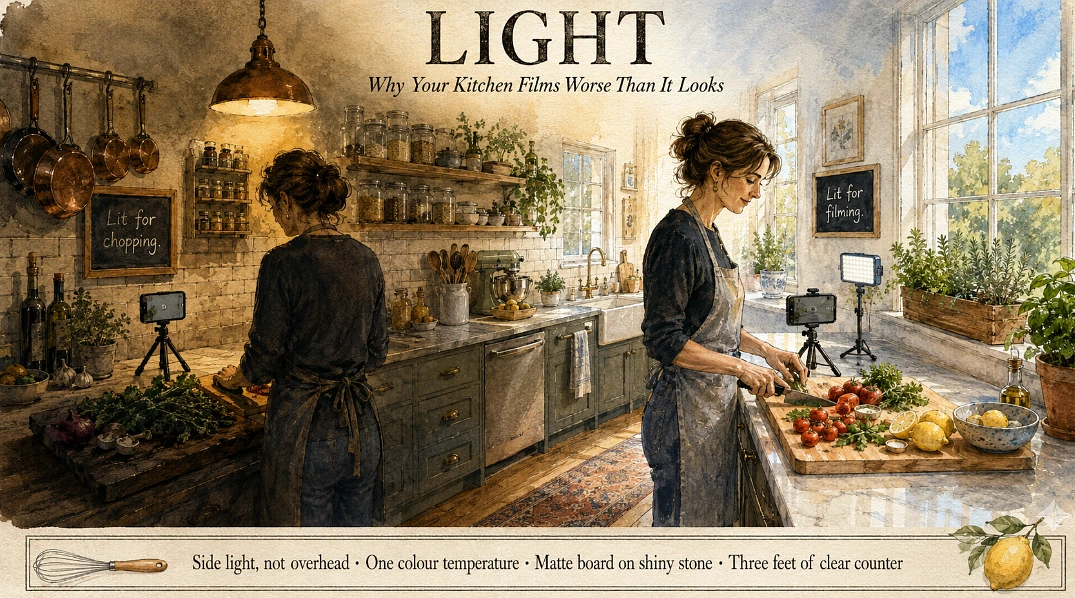
A kitchen that looks lovely when you walk into it can film badly, and the reason is almost always light coming from the wrong place.
Kitchens are built with the lighting overhead and slightly behind where you stand, because that is where it needs to be for chopping. Point a phone at yourself in that room and the same lights land on the back of your head and drop a shadow straight onto the counter you are working on, which is the exact spot the viewer is trying to see. Nothing about the room is wrong. It was designed for cooking rather than filming, and those two jobs want light from opposite directions.
That gets missed a lot, because when the early videos go nowhere the instinct is to blame the numbers instead of the room, and paying for a head start is a popular choice among creators stuck at that stage. Worth knowing that bought followers do not watch anything, and watch time and completion are what the ranking runs on, so a flat looking kitchen stays flat looking either way. The light is the cheaper fix and the one that compounds.
Move the Light in Front of You, Not Above You
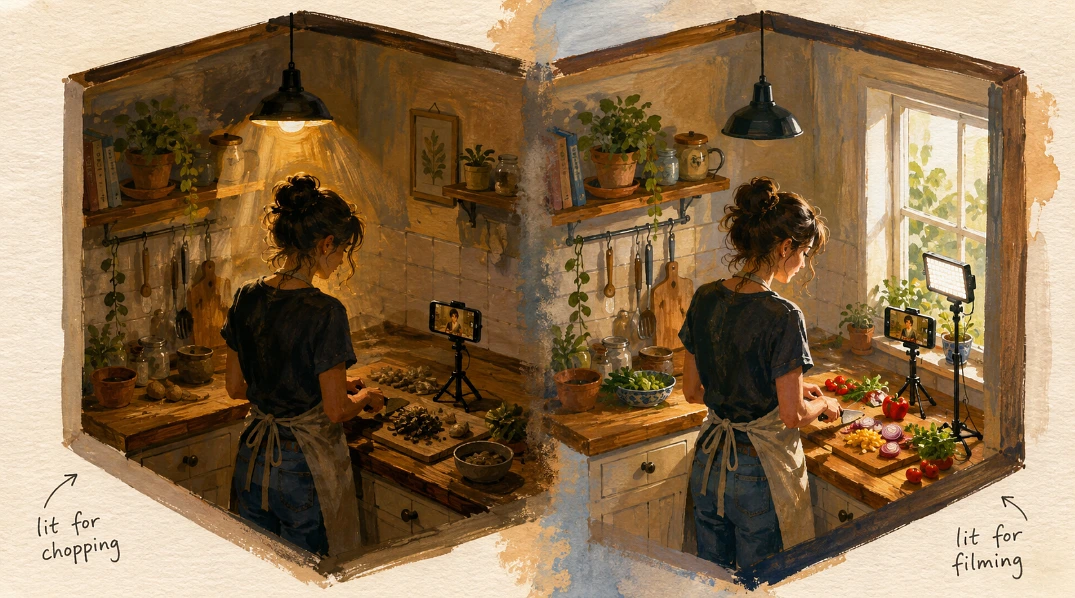
Turn the overheads off and film beside a window with the light hitting you side on.
North facing windows are the easy ones because the light stays soft and consistent for hours instead of swinging around and blowing out your camera at two in the afternoon. If the kitchen has no usable window, one LED panel at $30 to $60 on a small stand set slightly to the side of the phone does the job, and that is the whole equipment list for most people. What matters is that the light arrives from roughly where the camera is looking, so the food is lit and your hands are not casting shadows over it.
Do Not Mix Warm Bulbs With Daylight
Your phone can white balance for one colour of light, not two at once.
Warm kitchen bulbs sit around 2700K and daylight from a window is closer to 5500K, and when both hit the scene the camera picks one and makes the other look wrong, which is where the orange hands and blue counters come from. Pick a side. Either kill the overheads and shoot on window light alone, or close the blind and shoot on your own lamps, and if you want the room lit for real, swap the kitchen bulbs to something around 4000K so everything at least agrees with itself.
Glossy Surfaces Are Fighting You
Marble, glass jars, polished quartz, and stainless steel appliances all throw light straight back at the lens.
The Minimalist Chef Kitchen look, all clear counters and decanted jars, is the dominant aesthetic in food content right now and it films beautifully once the reflections are handled, though handling them takes a bit of thought. What tends to work:
- Angle the camera so the window is not sitting directly opposite a glossy backsplash, because that is where the white hotspot comes from.
- Keep stainless appliances out of the shot behind you, since a fridge door reflects you, the phone, and the tripod.
- Use a wooden or matte board as your working surface on a shiny counter, which kills the glare in the one spot the viewer is watching.
- Wipe the counter between takes, because polished stone shows every smear once light rakes across it.
Clear a Working Zone, Not the Whole Kitchen
You do not need a minimalist house, you need about three feet of clear counter.
Standard counters run around 25 inches deep, and once the mixing bowl and the ingredients are down there is very little room left, so decide before filming which stretch of counter is the set and clear that stretch only. Everything else can stay exactly as messy as normal life requires, since it will not be in frame. Most creators run two or three camera ready zones in a house and leave the rest alone.
Hard Kitchens Echo, and Bad Audio Loses Viewers
Tile floors, flat cabinet fronts, and stone counters bounce sound around, so your voice arrives thin and reverby.
Soft things absorb it, which means a rug just outside the frame, a towel over a chair back, even an open cupboard door full of fabric, and a cheap lapel mic clipped near your collar does more than any of it. If the audio still fights you, record the cooking silent and lay a voiceover on afterwards, which is what a lot of the food accounts you like are already doing.
Plan the Shot Before You Cook
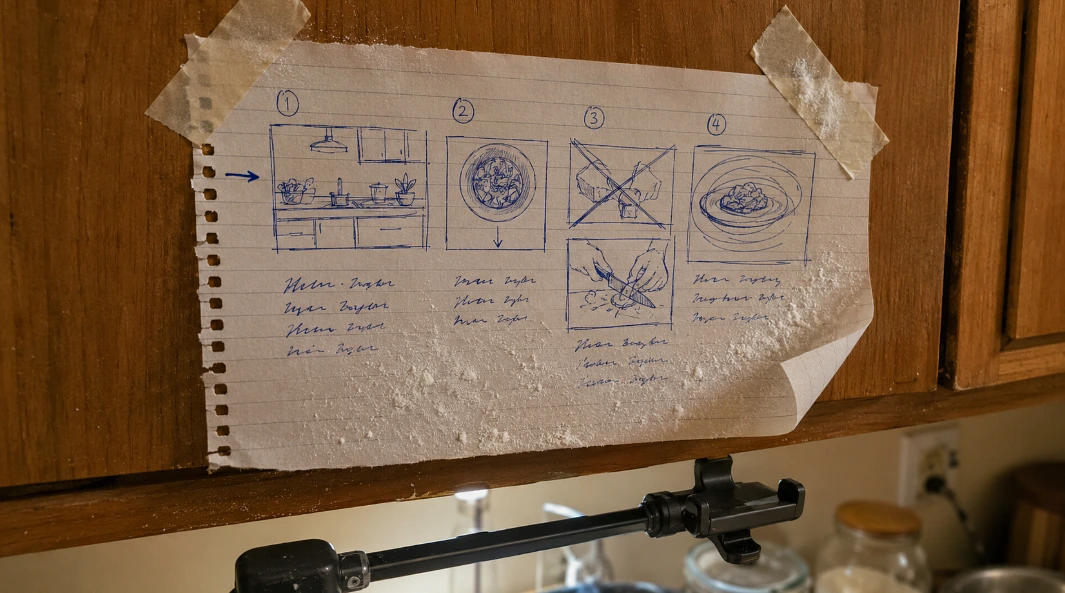
Cooking runs on a clock and you cannot ask a rising dough to wait while you rearrange the tripod.
Sketching a rough storyboard first, even four boxes on paper, means you know which angle opens the video, where the overhead shot goes, and which step needs the close up, and it saves the hour of discovering in the edit that you never filmed the part everybody wants to see. Overhead shots need a phone arm or a tripod with a sideways arm, another twenty five to forty dollars, and that one accessory is what makes a home kitchen video look like it was made on purpose rather than filmed over a shoulder.
 Decor & Improvement Accessories