

Home & Decor Blogs: DIY, Interior Design & Lifestyle Ideas
How to Light a Large Backyard When You Don’t Have Streetlights Doing the Work
If you live rural or semi-rural, you already know the problem. The sun goes down and your backyard disappears. Not dimly lit — gone. The back fence, the shed, the path to the clothesline, the driveway past the garage. All of it swallowed.
Most people start with solar garden stakes or a porch light and quickly realise neither does anything meaningful past about four metres. The porch light creates a bright circle at the back door and makes everything beyond it feel darker by contrast. The solar stakes mark where the path is but don’t actually light it enough to see what you’re stepping on.
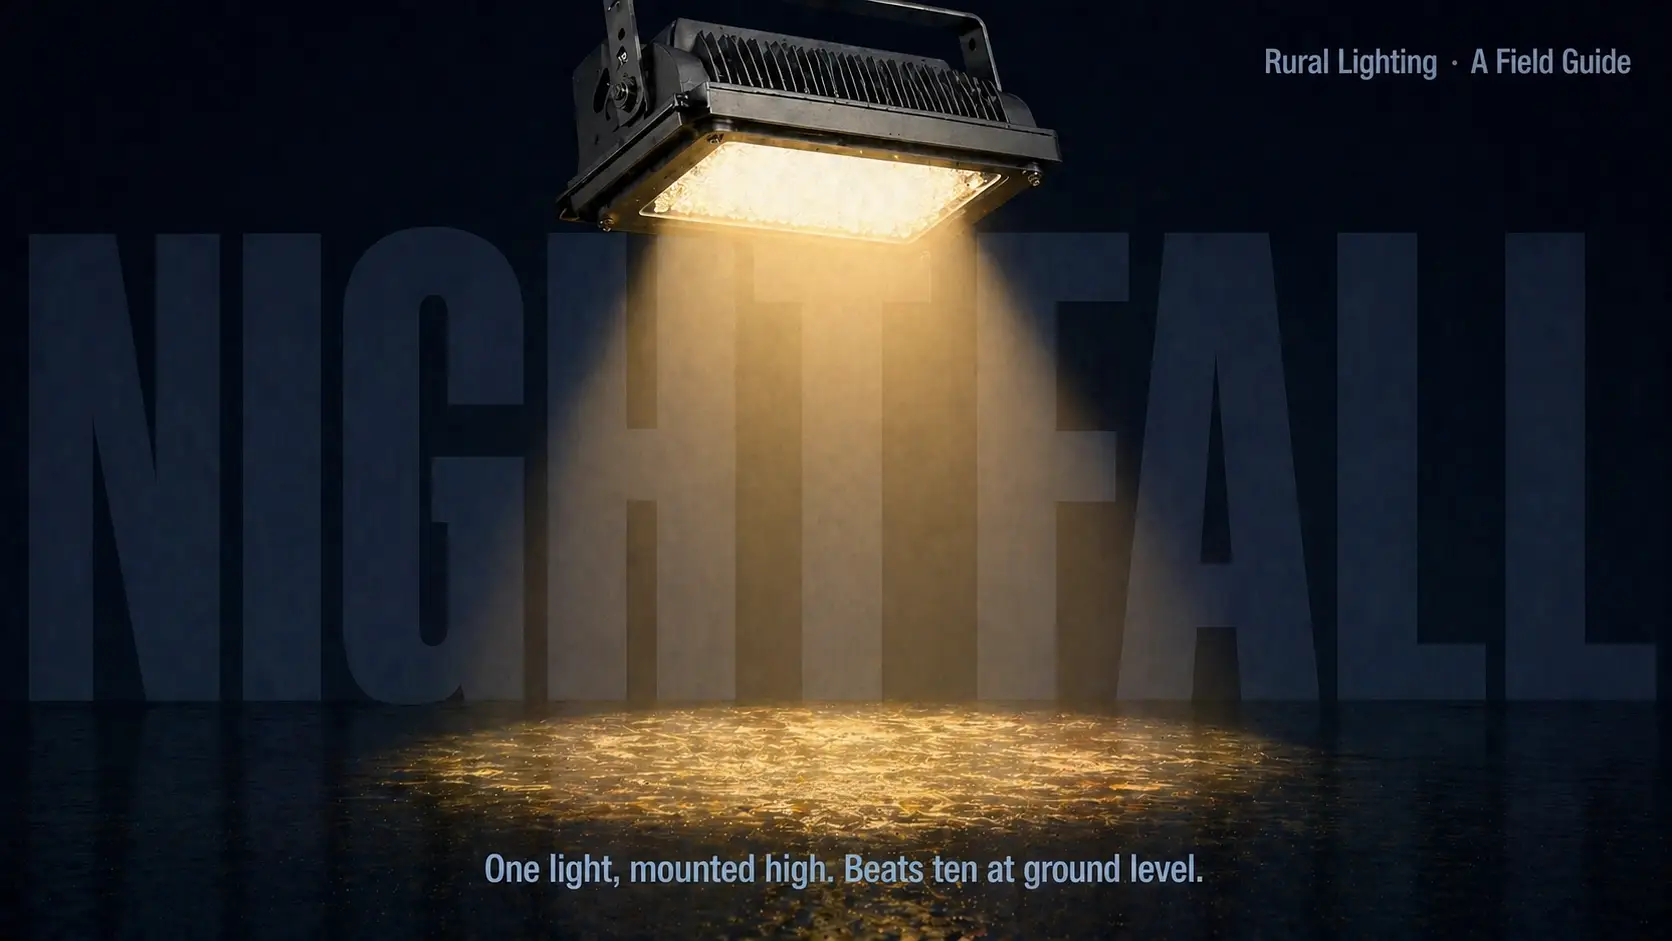
The fix isn’t more lights at ground level. It’s fewer lights, mounted higher. Height is what gives you coverage. A single light source at five metres covers more usable ground than ten lights at knee height — and it does it without creating the patchwork of bright spots and dark gaps that low lighting always produces.
There are three ways to do this properly, and each one fits a different situation.
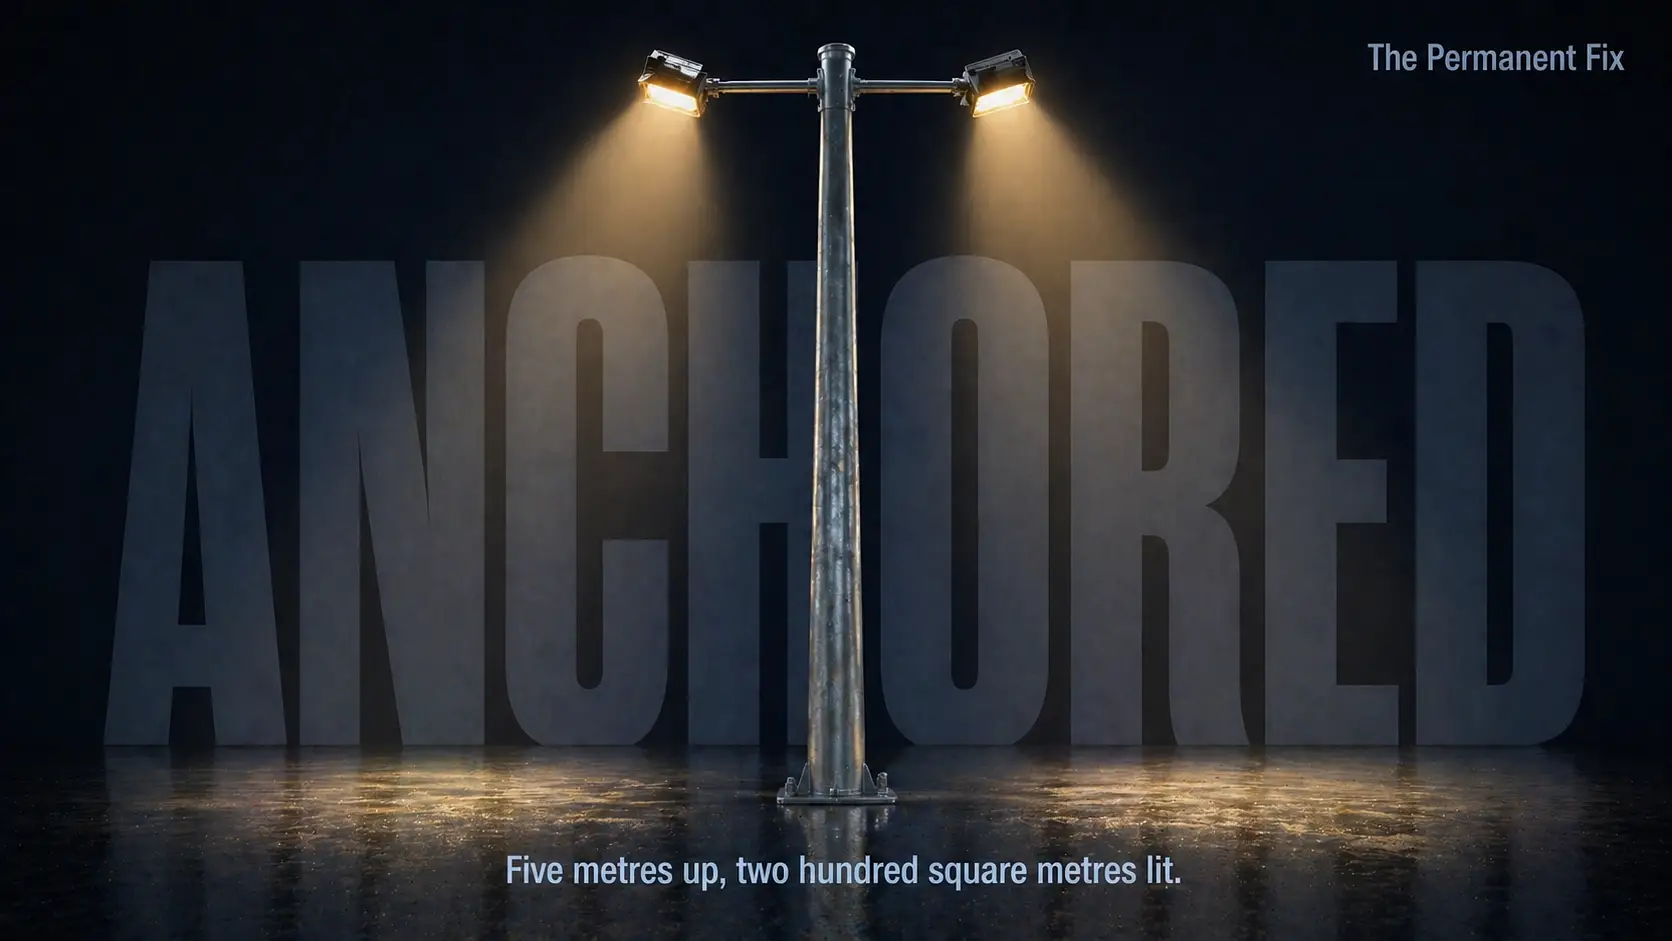
Pole-Mounted LED Floods — The Permanent Fix That Replaces Everything Else
This is where most rural homeowners end up eventually, usually after spending a few hundred dollars on solutions that didn’t work first.
A single 4–6 metre galvanised steel pole with two or three adjustable LED floodheads covers a surprisingly large area. At 5 metres high, a 120-degree beam spread lights roughly 200–250 square metres of ground — that’s most of a standard backyard in one shot. Two poles, positioned at opposite corners of the property, eliminate almost every dark spot between the house and the boundary.
The reason height matters this much comes down to angle. A light mounted at 2 metres hits the ground at a shallow angle — it travels outward more than downward, which means long shadows behind every object and direct glare in your eyes when you face it. The same light at 5 metres points more steeply downward. Shadows shorten. Glare drops. The ground gets lit more evenly because the light isn’t fighting its own geometry.
What this costs: The pole itself runs $150–$400 depending on height and material. LED floodheads rated for outdoor use (IP65 or higher) cost $80–$200 each. An electrician to run cable, install a dedicated circuit, and mount everything adds $500–$1,200 depending on how far the pole sits from your switchboard. All up, you’re looking at $800–$1,800 per pole fully installed.
That sounds like a lot until you compare it to what you’ve already spent on garden lights that didn’t solve the problem.
One mistake people make: buying warm white (3000K) floods because they want a “cosy” feel. Warm white looks great on a patio. For functional yard lighting — seeing the path, spotting the dog, checking what just made a noise near the shed — you want neutral white (4000K–5000K). It renders colours and shapes more accurately at distance, which is the entire point of lighting a large dark space.
Mounting and Wiring: What Your Electrician Needs to Know
The pole needs a concrete footing — typically a 400mm diameter hole, 600mm deep, with the pole’s base plate bolted to a cast-in bracket. On soft or clay-heavy rural soil, go deeper. A pole that leans 18 months after installation because the footing shifted in wet ground is expensive to fix and dangerous in wind.
Cable should be armoured (SWA) if it’s running underground from the house to the pole. Standard PVC-sheathed cable buried in conduit works too, but armoured cable survives an accidental shovel strike — and on a rural property where you or a future owner might dig a garden bed, a fence post, or a drainage trench, that protection earns its small price premium.
Wire it to a separate circuit with its own breaker, not piggybacked onto an existing outdoor power point. And add a weatherproof timer or photocell at the switchboard so the lights come on at dusk automatically. Manually switching yard lights on and off every night lasts about two weeks before you stop bothering and the yard goes dark again.
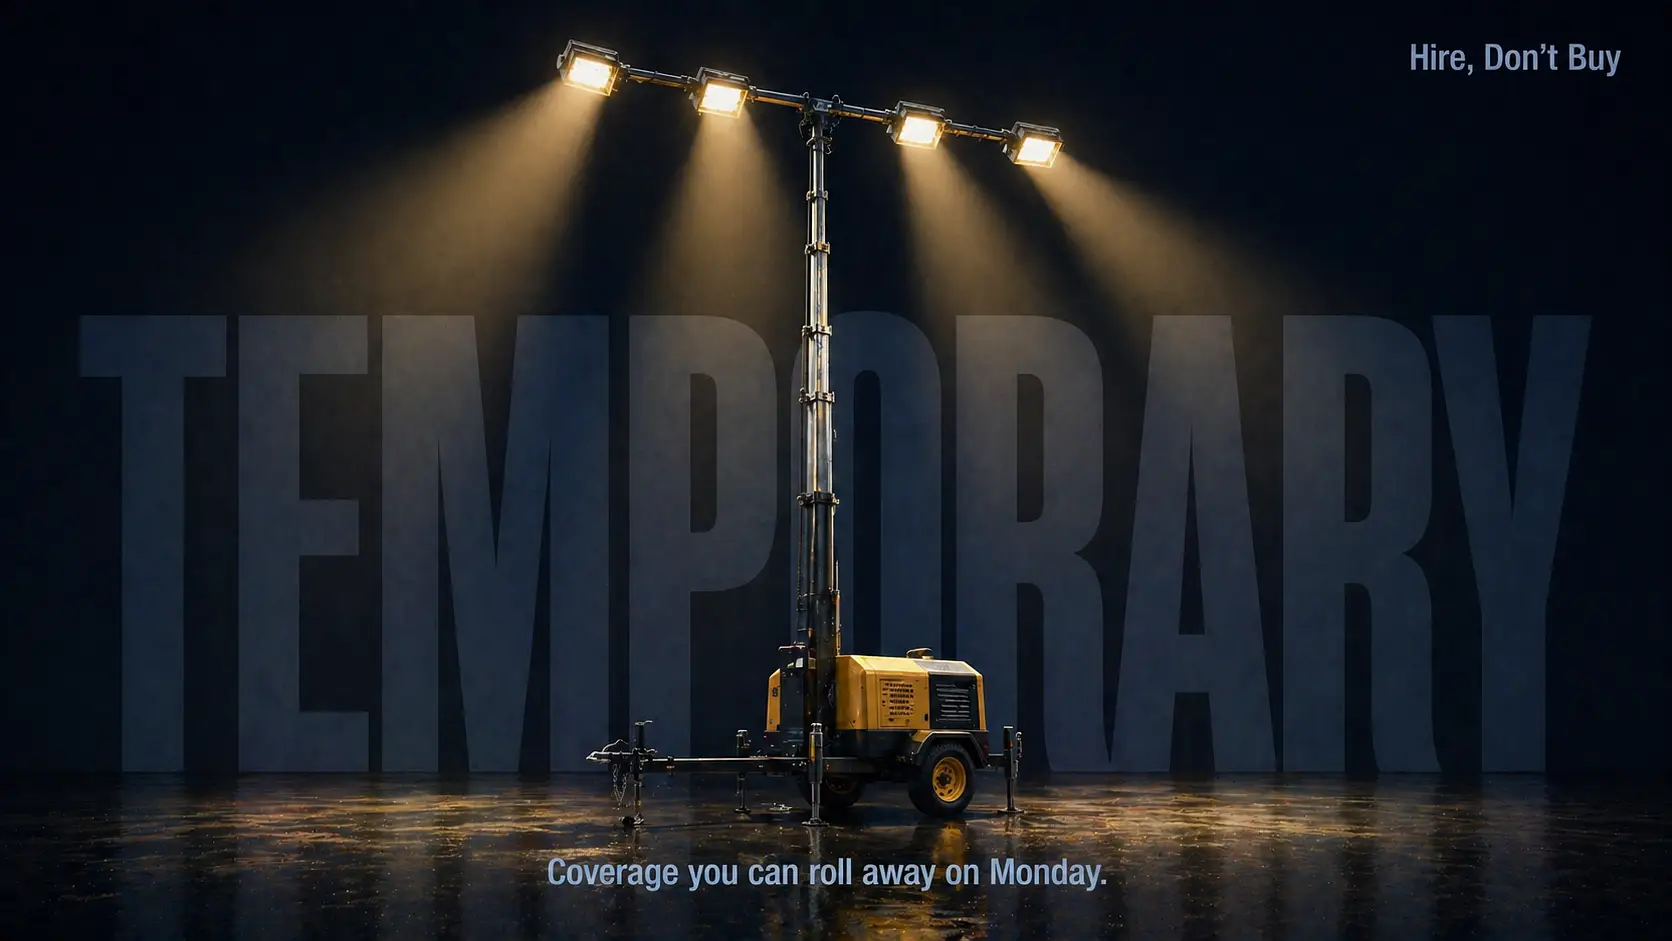
Lighting Tower Hire — When Permanent Doesn’t Make Sense Yet
Not every situation calls for a pole in concrete.
Maybe you’re mid-renovation and the backyard is a construction zone for the next three months. You need serious light coverage while the work happens, but the final landscaping will change where permanent lighting should go. Maybe you’re hosting a big event on the property — a wedding, a milestone birthday, 80 people on the back lawn — and you need one night of full coverage across a space you normally don’t light. Or maybe you’ve just moved onto a rural block and want to test where light coverage actually works before committing to permanent installation.
This is where lighting tower hire makes practical sense. A portable lighting tower — the kind used on construction sites and outdoor events — typically carries four LED floodheads on a telescoping mast that extends to 7–9 metres. That’s higher than any residential pole mount, which means broader coverage from a single unit. One tower covers roughly 3,000–4,000 square metres depending on the model and head configuration.
They run on diesel, battery, or hybrid power. For a home event or short-term project, a battery or hybrid unit avoids the engine noise — diesel towers are loud enough to bother neighbours, and on a quiet rural property at night, that noise carries further than you’d expect.
What hiring costs vs buying permanent: A lighting tower hires for roughly $150–$400 per week depending on the unit size and your location. For a one-off event, that’s a fraction of permanent installation. For a three-month renovation project, the hire cost starts approaching what a permanent pole would cost — which is the natural crossover point where hiring stops making sense and installing becomes the better investment.
The practical benefit nobody mentions: hiring a tower before installing permanent lights lets you physically see how light falls across your property at night. You can move the tower around, adjust the head angles, and figure out exactly where the dark spots are. Then when you do install permanent poles, you know precisely where they should go and at what height — no guesswork, no discovering six months later that the pole lights the fence beautifully but misses the path to the shed.
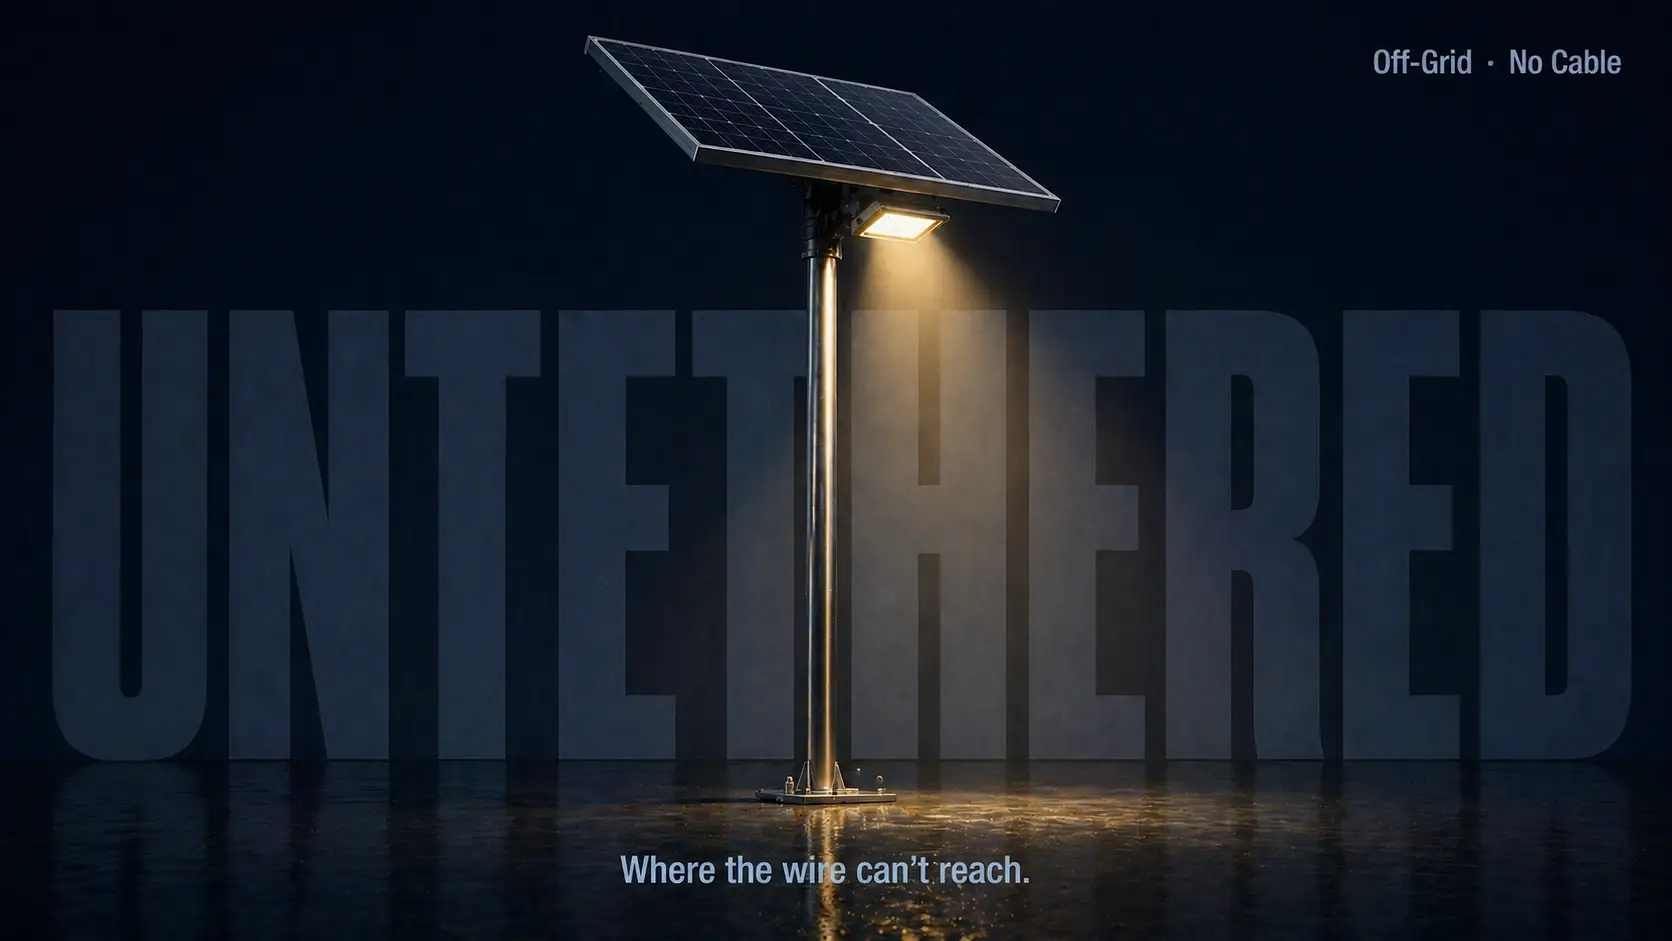
Solar Elevated Systems — Off-Grid Lighting for Properties Where Cable Can’t Reach
Some rural properties make hardwired lighting impractical. The shed sits 80 metres from the house. The driveway runs 200 metres from the road to the garage. The paddock gate is on the opposite side of the block from the switchboard. Running armoured cable those distances costs thousands in trenching alone — and on properties with rock, tree roots, or existing underground services, trenching might not be feasible at all.
Solar-powered elevated lighting solves this by removing the cable entirely. Each unit is self-contained: a solar panel charges a battery during the day, and the battery powers an LED light after dark. No electrician, no trenching, no connection to the grid.
The key word is “elevated.” Solar path lights at 300mm height are what most people think of — and they’re useless for actual visibility. What works is solar-powered units mounted at 2.5–3.5 metres on a standalone pole or bolted to a shed wall, fence post, or carport column. At that height, even a modest 20–30 watt LED panel produces enough ground coverage to light a driveway section, a gate approach, or the area around an outbuilding entrance.
The limitation you need to plan around: solar storage is finite. A fully charged unit with a 20Ah battery runs a 30-watt LED for roughly 6–8 hours. In summer, that’s enough — short nights, long charging days. In winter, nights stretch to 14 hours and charging days shorten. The light either dims partway through the night or switches off entirely before dawn.
Motion-sensor activation solves this. Instead of running all night, the light stays off until movement triggers it, then runs for a set period (usually 30 seconds to 5 minutes). This extends the battery across the entire night because the light only operates for a fraction of it. For security lighting at a gate or shed entrance, motion activation is actually preferable — a light that suddenly switches on is a better deterrent than one that’s been on all evening.
What to Look for in a Solar Elevated Unit
Panel wattage vs light wattage: The solar panel needs to generate enough power during daylight hours to fully recharge the battery. A rough guide — the panel wattage should be at least 1.5x the light wattage for reliable year-round performance. A 30W LED needs at least a 45W panel. Cheaper units cut costs by undersizing the panel, which works in summer and fails in winter.
Battery chemistry: Lithium iron phosphate (LiFePO4) batteries hold up better in temperature extremes than standard lithium-ion and last roughly 2,000 charge cycles vs 500–800 for cheaper alternatives. On a unit that charges and discharges daily, that’s the difference between a 5-year lifespan and an 18-month one.
IP rating: Anything mounted outdoors on a rural property needs IP65 minimum — sealed against dust and protected against water jets from any direction. IP67 (submersion-rated) handles the reality of horizontal rain, sprinkler overshoot, and the general abuse that outdoor equipment takes on a working property.
The appeal of solar elevated systems isn’t performance — hardwired pole floods are brighter, more reliable, and cheaper to run long-term. The appeal is independence. Each unit works on its own. No cable connects them. You can add one to the shed this month, another to the driveway gate next month, and a third to the back paddock when you get around to it. The system grows with the property instead of requiring a full installation plan upfront.