

Home & Decor Blogs: DIY, Interior Design & Lifestyle Ideas
What Every Yard Needs Before New Grass Goes Down

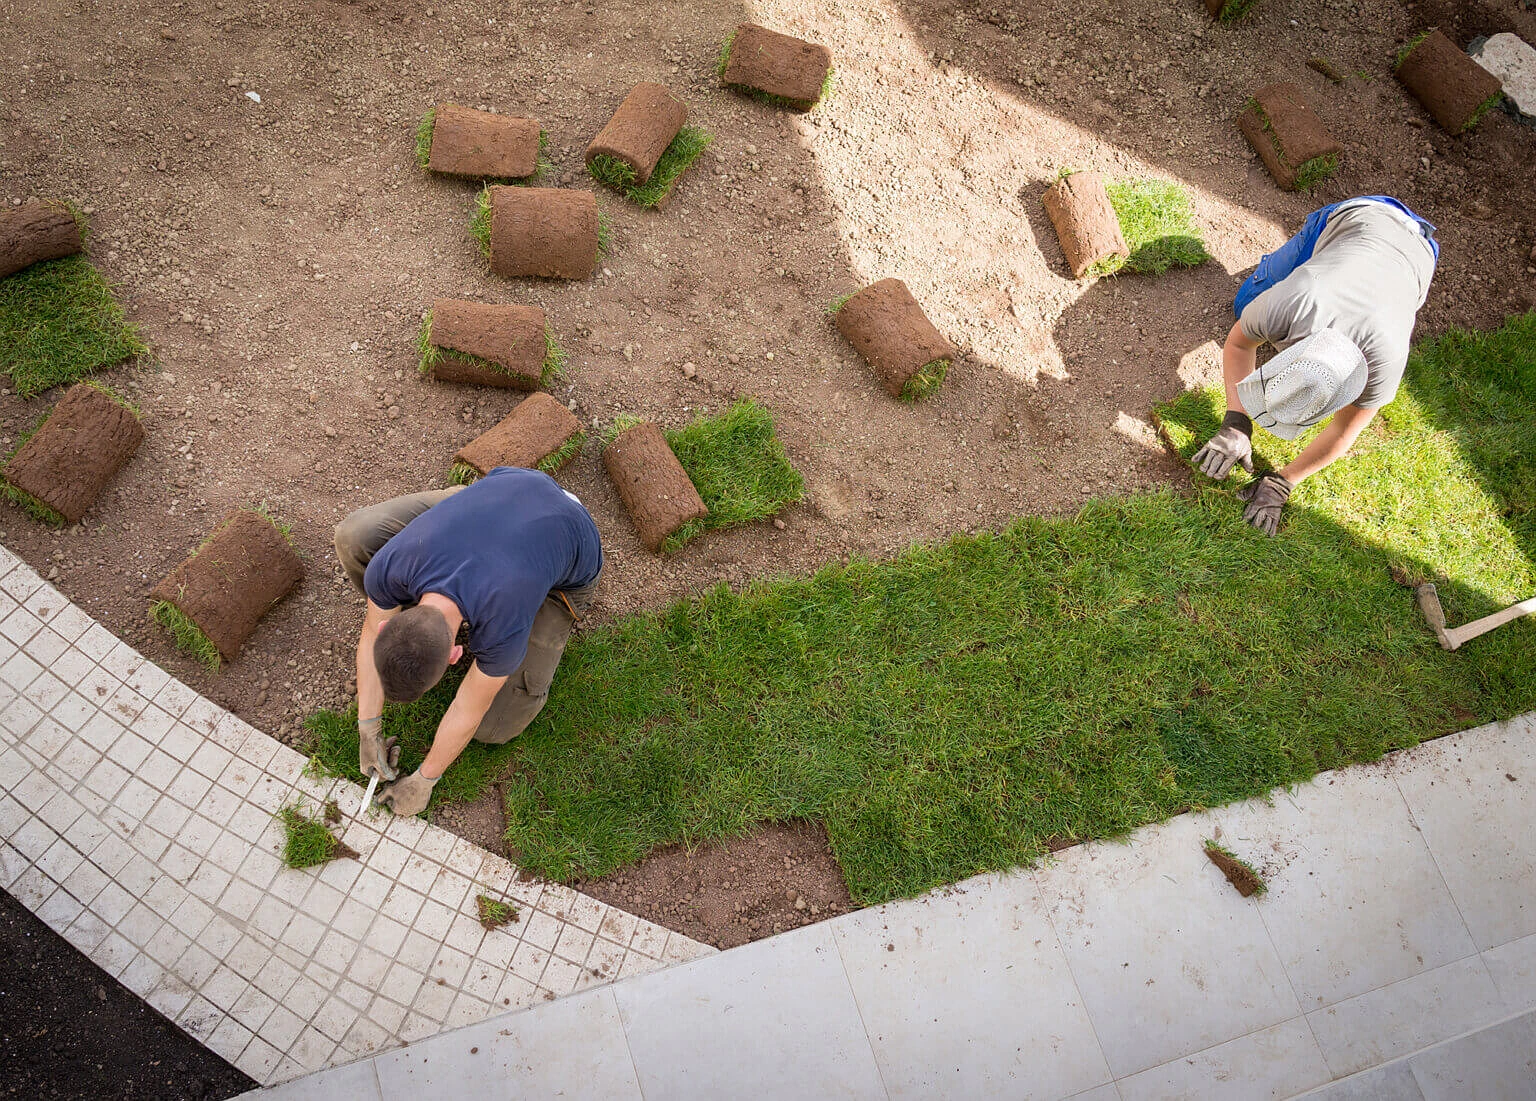
Sod is the easy part. It is the four to six inches underneath it that decides whether you still have a lawn next summer
Plenty of homeowners spend real money on a new lawn and end up disappointed within a season.
The grass goes in looking perfect, holds for a few weeks, then thins out in patches that spread. The sod was fine. The dirt under it was not.
So this is about the prep work, the part no one photographs. Ground you can fix before delivery day, not the sod itself and not which grass to pick.
One thing worth knowing early. Fresh cut sod lasts a couple of days on the pallet, so all of this has to be finished before the truck arrives.
Compacted Soil Is Why Most New Lawns Fail
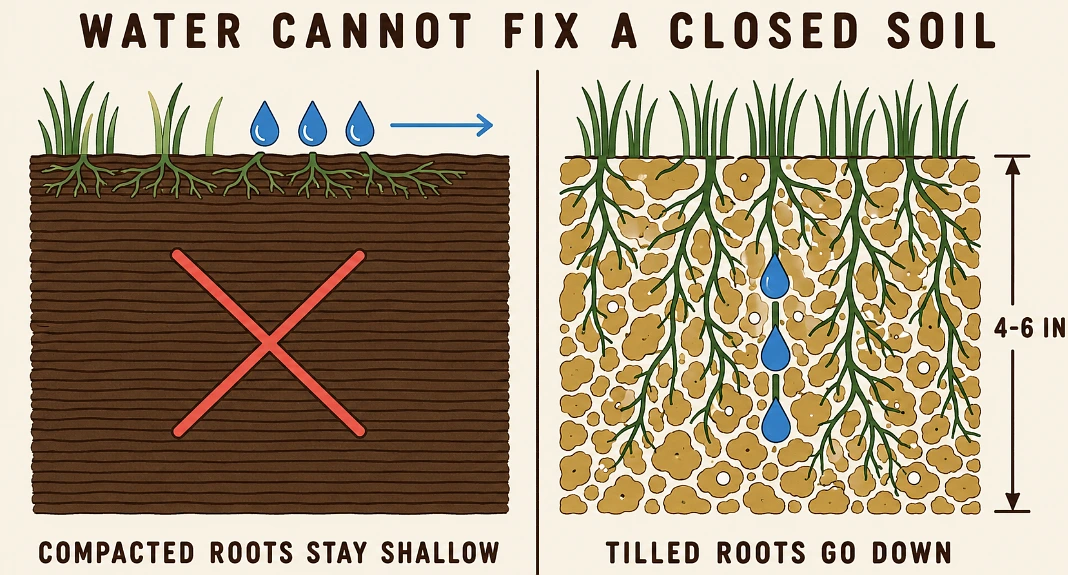
Roots cannot grow into ground that has been squeezed shut.
Soil that has been driven on or walked over loses the pore space roots need. Air and water stop moving through it.
Anything planted into that stays shallow no matter how much you water it. Then the first hot stretch arrives and the patches start.
The fix is tilling, and the depth is 4 to 6 inches. Every extension service lands on that number.
A rotary tiller handles a small yard. For a bigger one, or ground that has had machinery over it, a company offering sod installation services will loosen it properly and test the soil first, which is the order that saves money.
Mark your sprinkler heads before anyone starts. Know how deep the lines run.
A $20 Soil Test Tells You Your pH Before You Spend Anything
Your local extension service will analyse a sample for less than $20. Best money in the whole project.
Turf wants a pH between 6 and 7.5. Below 6 you need lime.
The results also list what the ground is short of, so you stop guessing at fertilizer.
Do it weeks ahead. Lime takes time to move the number, and a test that lands the morning the sod does is a test you cannot act on.
The Squeeze Test Tells You If You Have Sand or Clay
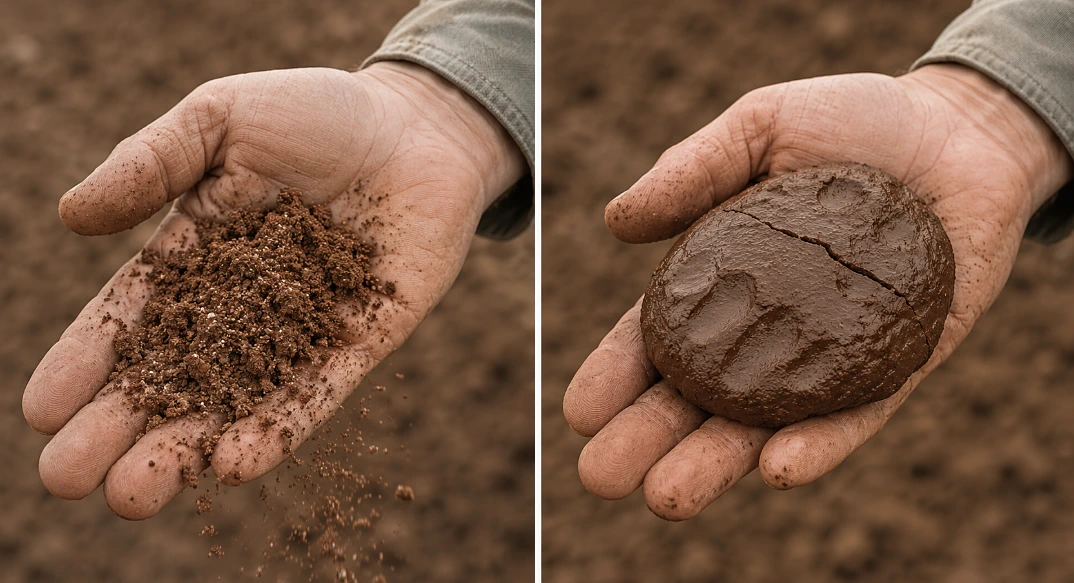
Grab a handful of damp soil and squeeze it. That is the test.
Crumbles apart, you have sand. Drains fast, holds little, so water passes the roots before the grass uses it.
Holds a dense lump, you have clay. Holds water at the surface long after the roots have taken what they need.
Most yards sit somewhere between, and where yours falls decides how often you water rather than how much.
Then check depth with a probe or a long screwdriver. You want six to eight inches of topsoil. Hit rock or hardpan sooner than that and you are bringing material in, which is much cheaper to discover now.
Sun and Slope Change What Grows Where in Your Yard
Four hours of direct light behaves nothing like ten. Watch where the shade falls across a full day.
Slope decides where water ends up. A graded yard sheds it faster than the ground absorbs, so the top stays dry and the bottom sits wet.
On any real grade, water in shorter passes with a pause between. Otherwise most of it runs downhill.
Walls throw reflected heat onto whatever grows beside them. Roof overhangs create dry strips that never see rain. Handle those zones separately.
Fix Drainage and Grade Before the Sod Arrives
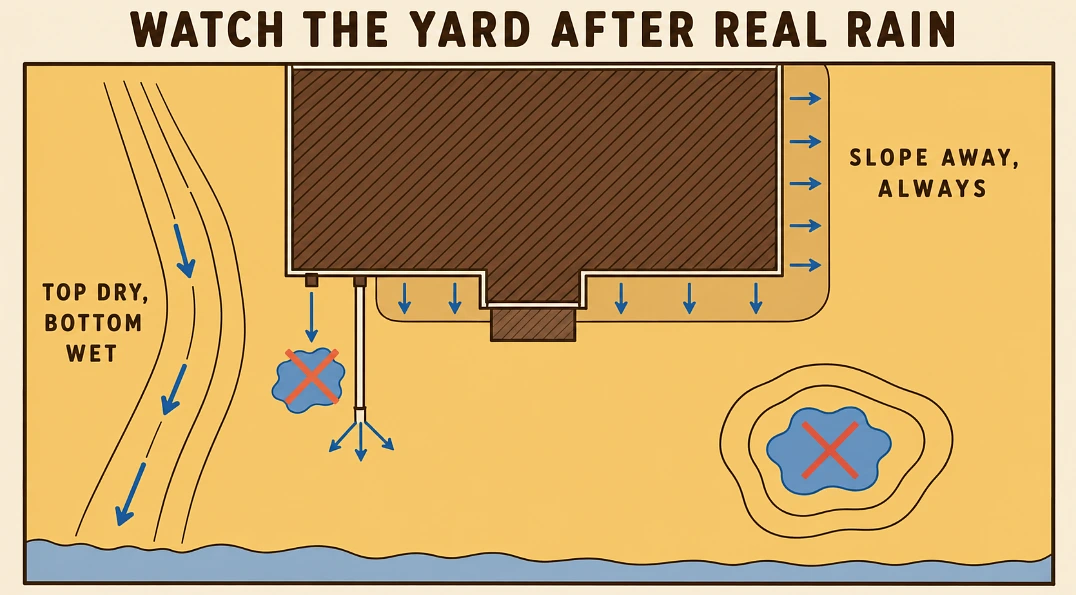
Puddles lasting more than a day after rain mean your yard cannot move water away.
Standing water suffocates roots and gives fungus and mosquitoes what they want. Usually it is a low spot, a downspout emptying onto the lawn, or ground that has settled.
Erosion is the same problem showing differently. Channels cut into soil, roots exposed on a slope, silt washing onto a path.
Ground along the foundation always slopes away from the house. Fix that before new sod goes down, or you will be tearing up what you just paid for.
Water Daily for Two Weeks, Then Deeply and Less Often
New sod is not the same as an established lawn, so ignore general watering advice for the first fortnight.
Day one, water it in until the soil beneath is moist 4 to 6 inches down.
Then daily, early morning, for two weeks. Stay off it completely for two to four weeks while the roots knit in.
After that the rule flips. Longer soaks, less often. Short daily cycles keep only the top inch damp and train roots to sit near the surface, where they cook first.
Morning beats evening. Water early and the blades dry through the day, while evening watering leaves moisture sitting overnight, which is exactly what fungal disease wants.
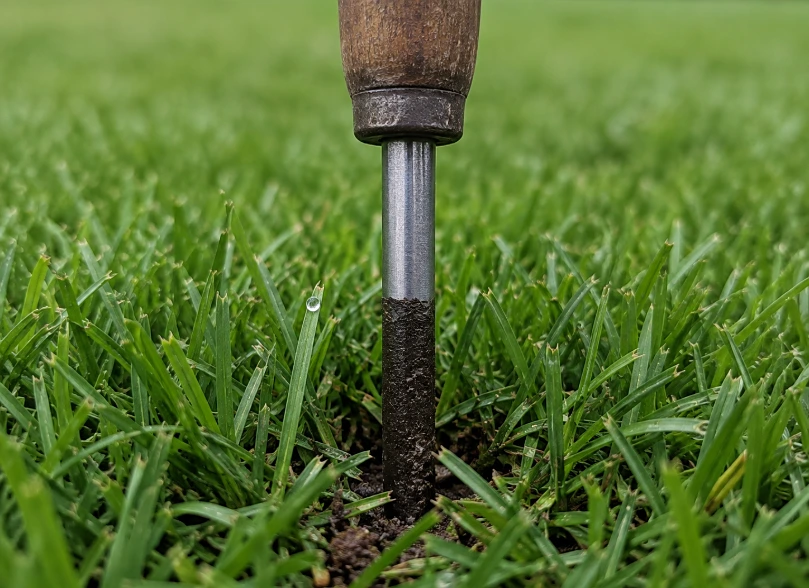
A screwdriver is your cheapest diagnostic. It should slide in about six inches. If it stops short, the lower layers are dry however green the top looks.
Wait Until the Grass Hits 3 Inches for the First Mow
Let it reach 3 to 4 inches first, and use a walk behind rather than a ride on so you are not putting weight on turf that has not rooted.
After that, the one third rule. Take more than a third of the blade in one pass and the plant burns stored energy recovering instead of growing.
Cut high. Short blades lose the surface area they need to make energy, and the bare ground underneath heats and dries fast. Taller grass shades its own roots and crowds out weeds.
A dull blade tears instead of cutting. The ragged tips brown within a day and let disease in. Sharpen a few times a season.
Leave the clippings. They break down fast and return nitrogen, which cuts your fertilizer bill.
Do Not Fertilize for the First Month
New sod needs rooting, not feeding. Wait at least a month.
Too much nitrogen forces fast top growth that looks great for a fortnight and leaves the plant weak, thirsty and attractive to insects.
Feed during active growth and the plant uses it. Feed during dormancy and it washes away.
Water it in afterward so the nutrients reach the roots instead of scorching blades on the surface.
What Each Prep Step Costs and What It Fixes
Work down this list. The first two are cheap and they tell you whether the rest are even needed.
| The step | What it fixes | Cost | When |
|---|---|---|---|
| Soil test | Your pH and what the ground lacks | Under $20 | Weeks ahead |
| Squeeze test and probe | Sand or clay, and topsoil depth | Nothing | Same day |
| Tilling | Compaction that keeps roots shallow | Rental or contractor | Before delivery |
| Drainage and grade | Puddles, erosion, water at the house | Real money | Before anything |
| Amending and levelling | Bumps, low spots, poor fertility | Moderate | Just before sod |
| Rolling the surface | Air pockets and later settling | Cheap rental | Final step |
| Sod itself | The visible part | $0.60 to $1.65 per sq ft | Delivery day |
Look at where the money sits. The cheapest line on that table is the one that tells the rest of the list what to do.
Start With the Soil Test, Not the Sod Order
Book the test first. Then walk the yard after the next real rain and watch where the water goes.
That tells you whether this is a tilling job, a drainage job, or both. Twenty dollars and an afternoon, before anyone quotes you.
Prep is what separates a lawn that holds for a decade from one you redo in two years. The sod is the same either way.
 Decor & Improvement Accessories